Cart
0
You may also like


By Avyaan | Craft Process | 7 min read

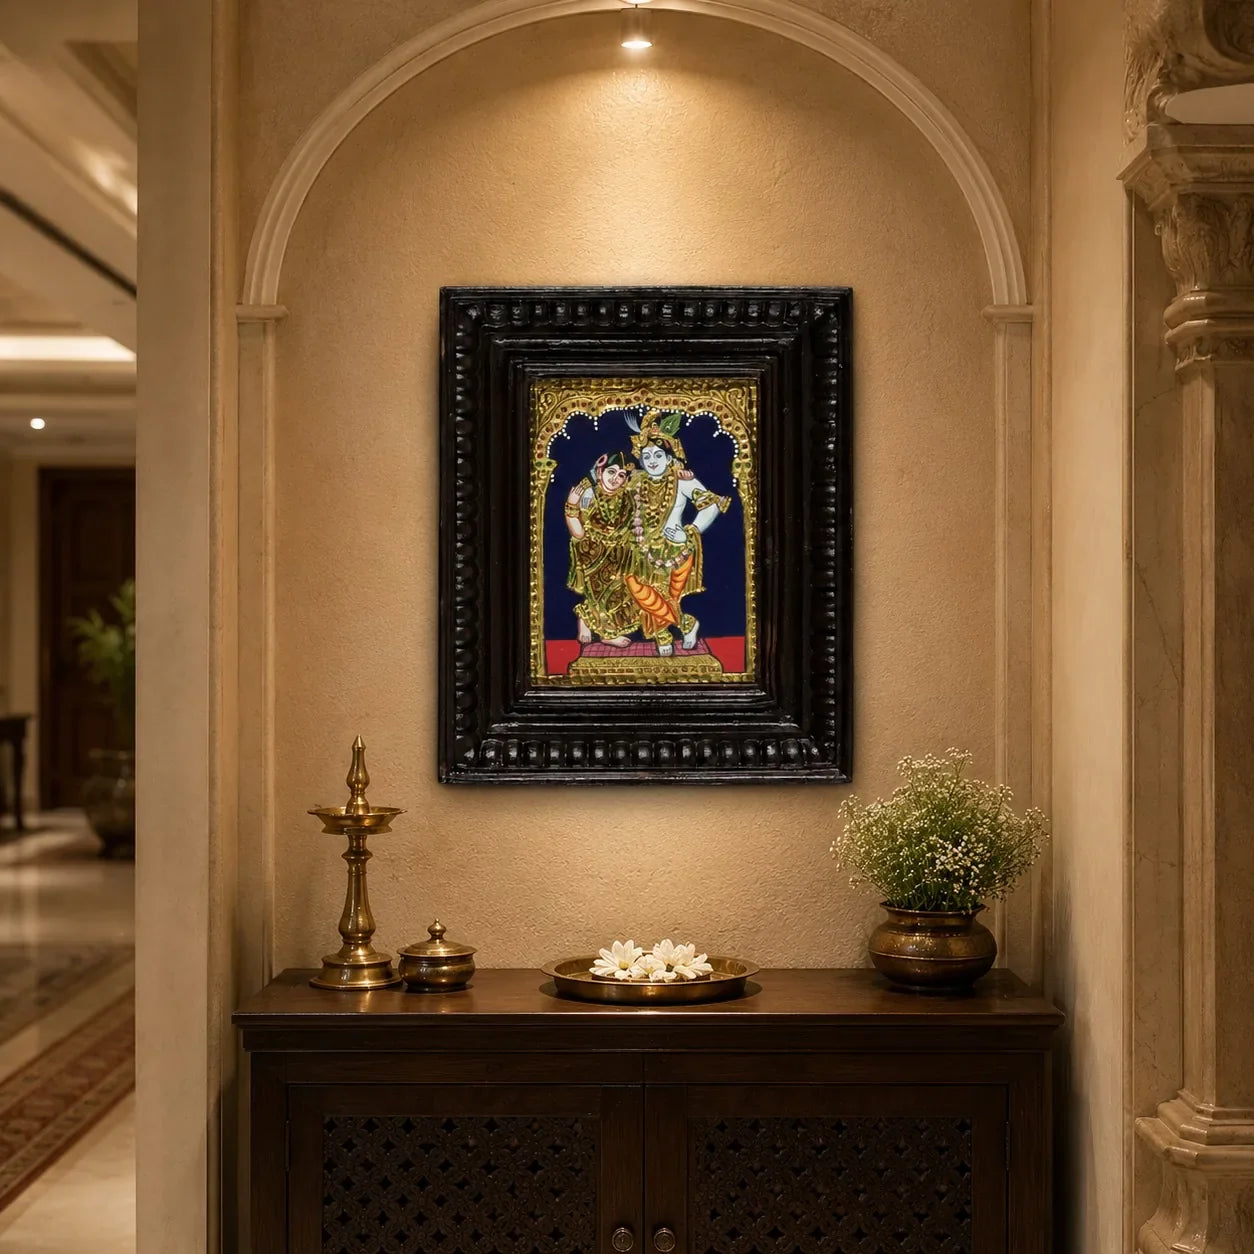
Three months is a conservative estimate for a well-made Tanjore painting of medium size. Larger, more complex works — paintings with multiple figures, elaborate backgrounds, heavy gold work and extensive stone-setting — can take six months to a year. This timeline is not a matter of the painter working slowly; it is determined by the materials themselves.
The process begins with cloth — typically a fine cotton or silk — stretched taut over a wooden board and secured at the back. The cloth is then primed with a mixture of chalk powder (calcium carbonate) and an adhesive. This mixture is applied in multiple layers, each layer dried completely before the next is applied, and each layer sanded smooth. By the time the ground is ready, the surface feels like very fine paper — smooth, slightly resilient, capable of accepting fine detail.
The ground preparation alone takes one to two weeks. Artists who rush this stage end up with paintings that crack, peel, or absorb colour unevenly.

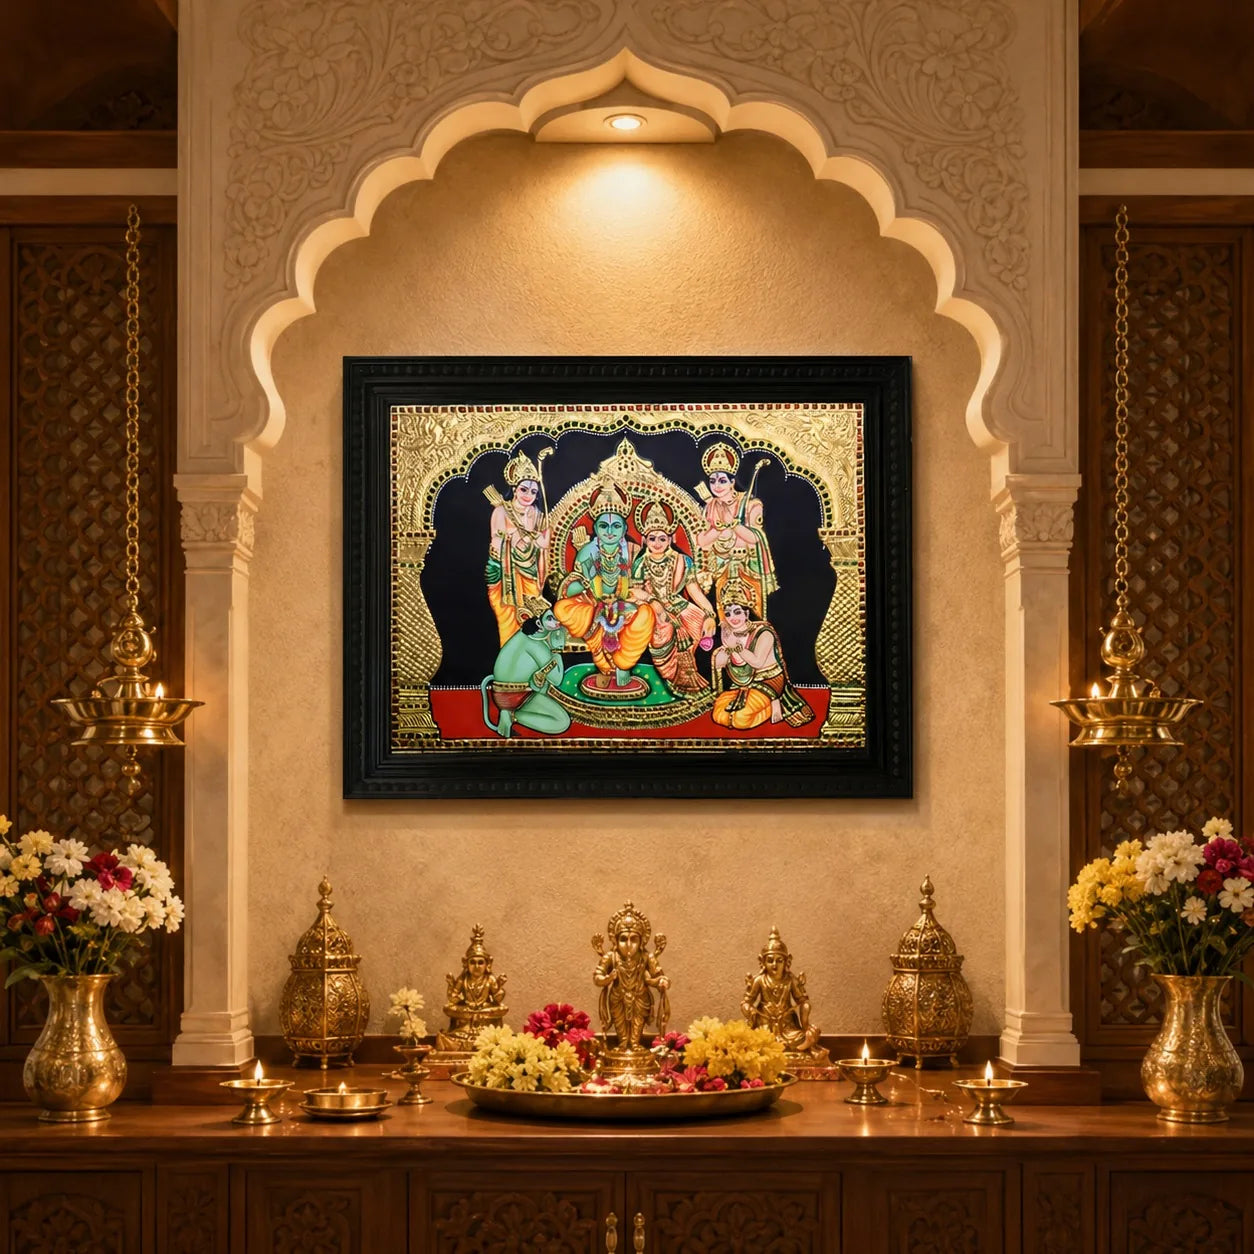
The composition is drawn onto the prepared ground in pencil or charcoal, following traditional iconographic templates that Tanjore painters have used for generations. These templates specify the proportions of the figure, the arrangement of attributes (weapons, instruments, animals), and the general architectural framework of the background.
The drawing is not a sketch — it is a precise construction. The measurements of each element are calculated and transferred to the board with ruler and compass. The eyes of the deity will be placed exactly according to traditional proportions relative to the face. The crown will occupy a specific fraction of the total height. This precision is what gives Tanjore painting its formal, composed quality.
The base colours are applied first: the sky, the background, the primary colour of the deity's garments. These are flat applications of colour, done with broad brushes, establishing the tonal structure of the composition before any detail work begins.
This is the most technically demanding stage. A mixture of chalk powder, adhesive, and water is built up in layers over the areas that will carry three-dimensional relief: jewellery, crowns, borders, decorative elements. The painter applies this mixture with a fine brush or wooden stylus, building up the form slowly, layer by layer, allowing each layer to dry before adding the next.
The relief work for a single ornate crown might involve fifteen to twenty layers, each adding a fraction of a millimetre to the final raised form. The painter must have a precise mental image of the finished three-dimensional shape and work toward it across many sessions.

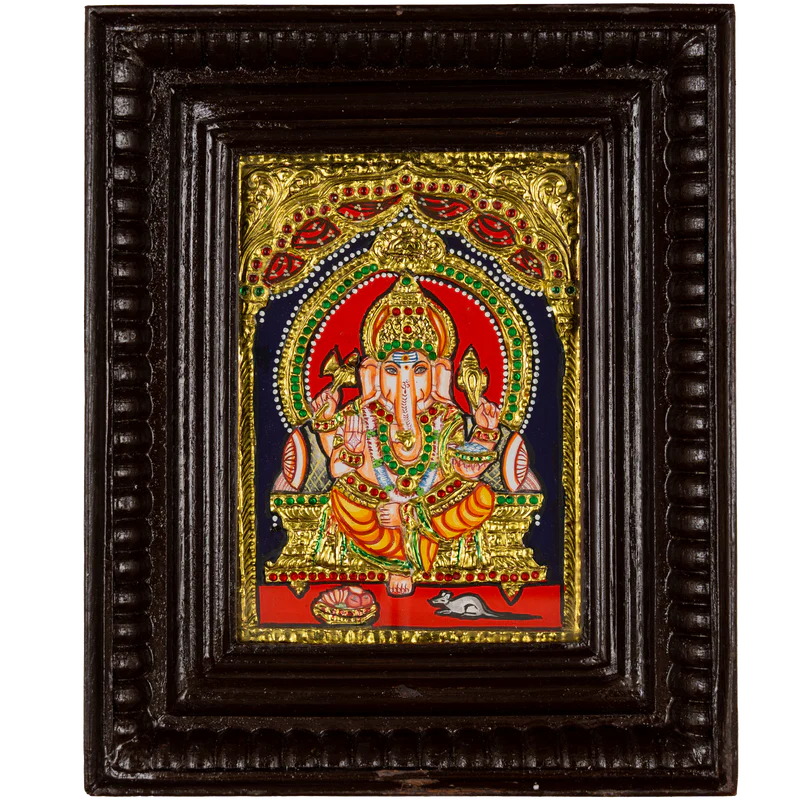
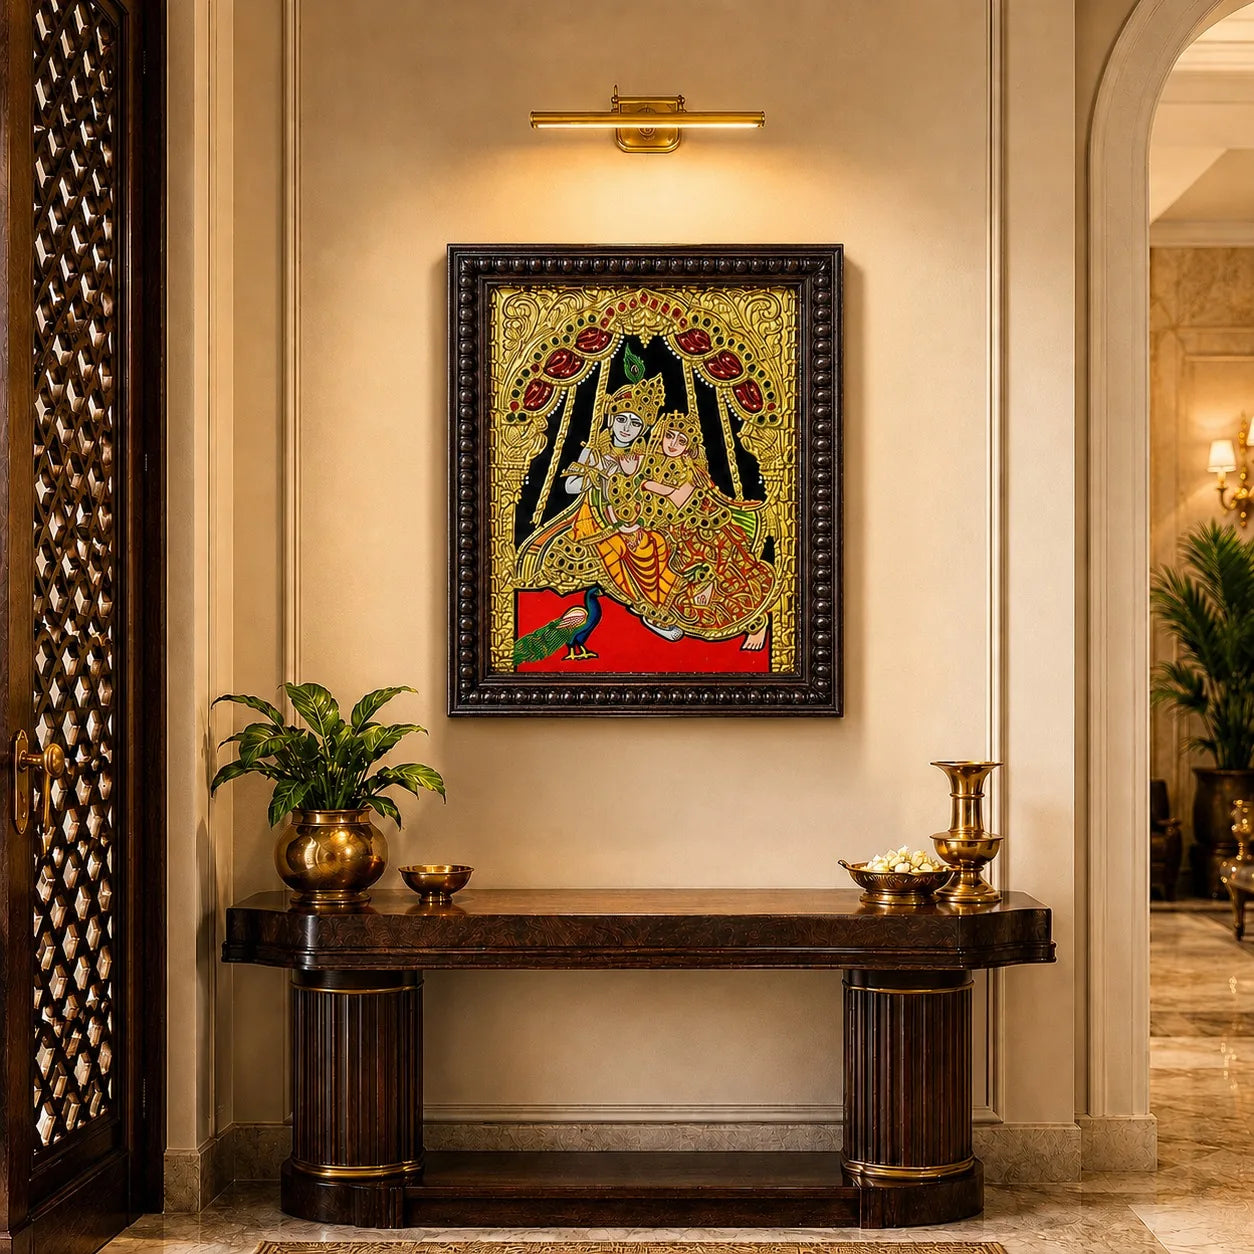
Gold leaf is applied to the dried, primed relief work using a brush slightly dampened with adhesive. The gold leaf — wafer-thin sheets of real gold — is placed over the adhesive surface and pressed gently with a soft brush. The excess is brushed away. Any gaps are patched with additional gold.
A large painting with extensive gold background may require dozens of sheets of gold leaf. The application is done with extreme care — a breath of wind can scatter gold leaf; a slightly uneven adhesive coat can cause the gold to lift. This stage is done in a still room, often in the early morning before the heat creates air currents.
Semi-precious or glass stones — rubies, emeralds, pearls, diamonds — are set into pre-formed gesso sockets in the jewellery work. Each stone is positioned individually with tweezers and secured with a tiny amount of adhesive. A heavily jewelled painting might have five hundred or more individual stones.
The final details — the face, the hands, the finest decorative elements — are painted last. The eyes are applied with a single-hair brush. The highlights on the skin are added. The borders are detailed. Finally, the entire painting is varnished with a traditional finishing coat that deepens the colours and gives the gold its final polish.
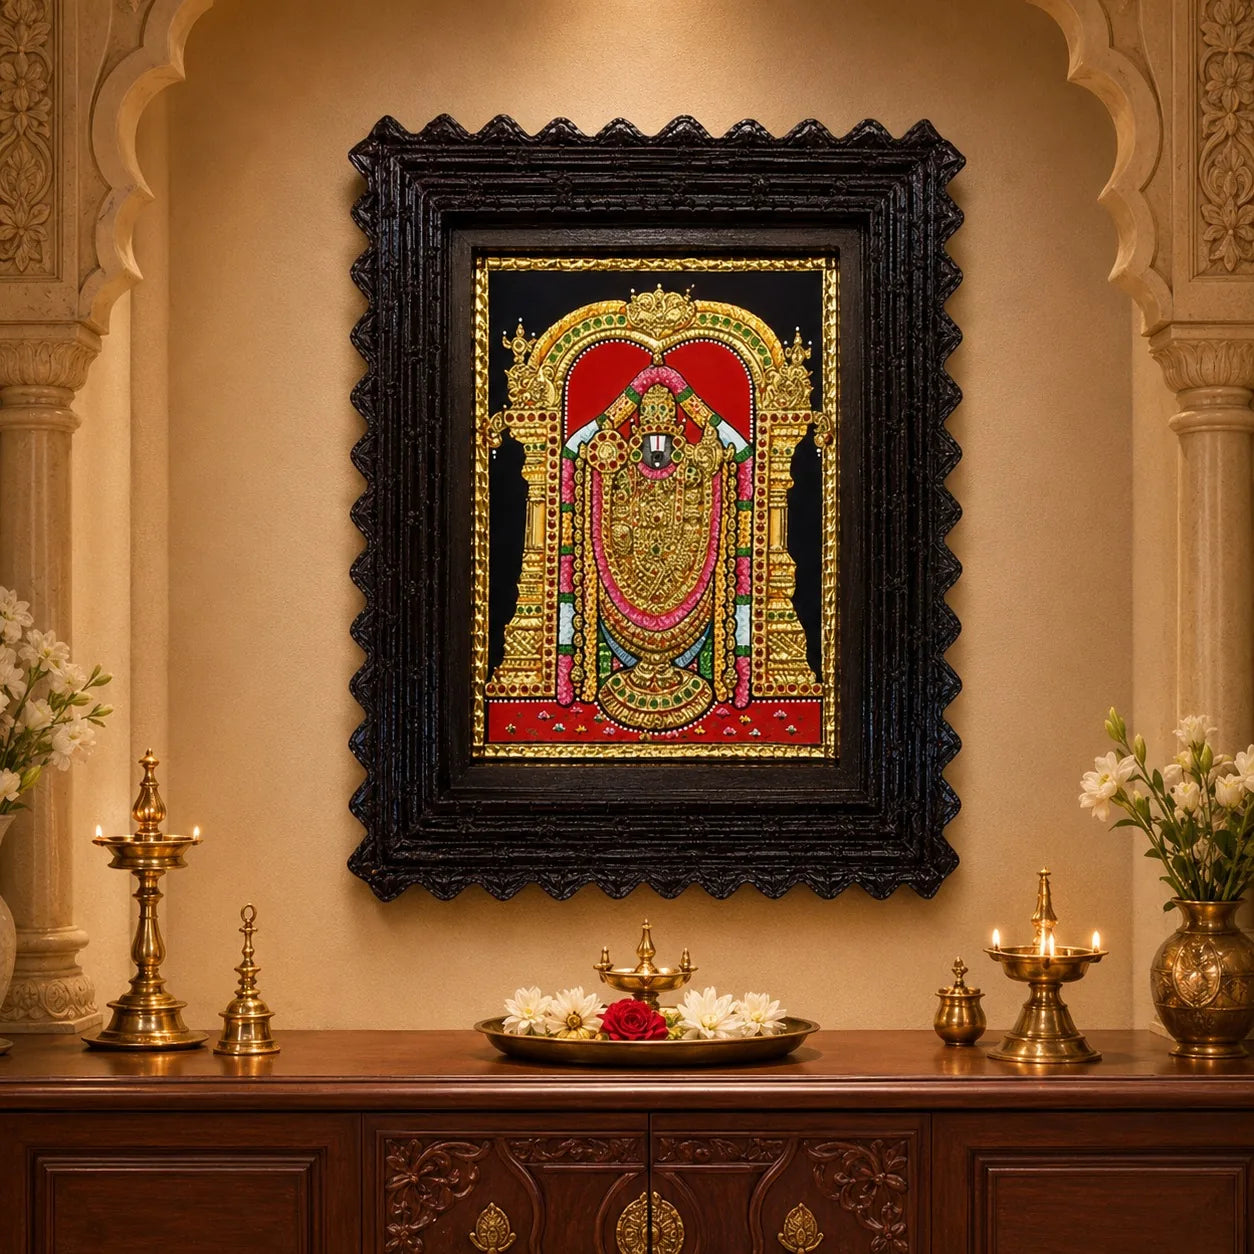
What you receive when you buy a Tanjore painting is the compressed result of this three-month process — months of practiced skill, expensive materials, and devoted attention. The painting's price reflects this, as it should.
See the full range of authentic Tanjore paintings at https://aavyaan.com/
This blog explains the complete making process of an authentic Tanjore painting. It covers board preparation, cloth mounting, chalk priming, traditional drawing, colour application, raised gesso work, 22K gold leaf application, stone setting and final detailing. It shows why genuine Tanjore art takes months to complete.
Loading Mark360 Popup...

